


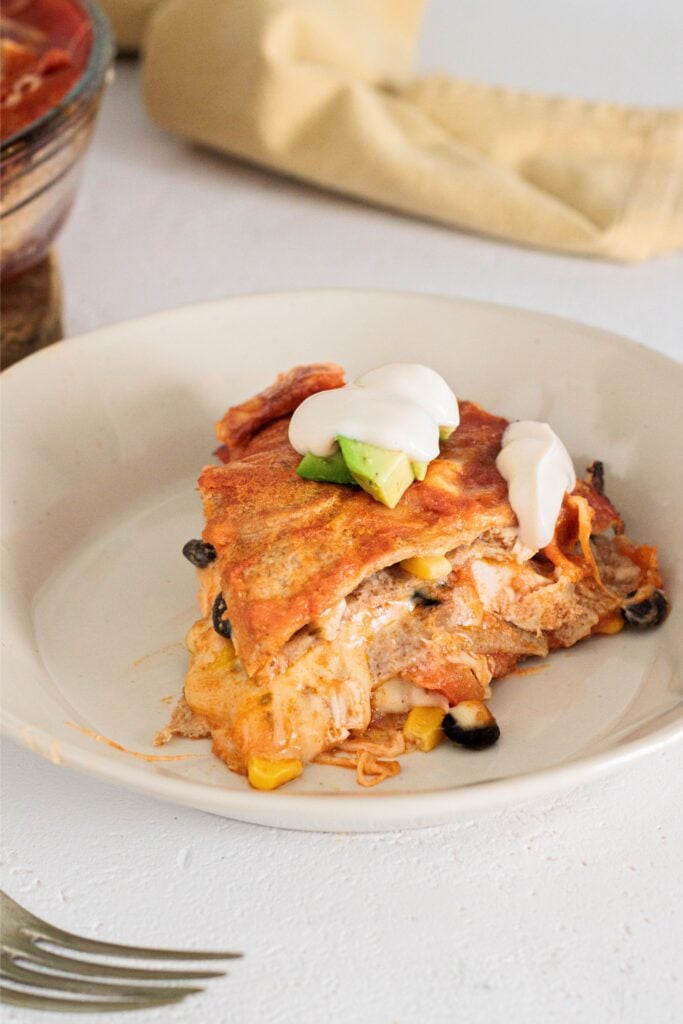
What I love about this casserole is that it still feels like proper comfort food. Lots of cheese, saucy tortillas, creamy chicken filling… you know, all the good stuff haha! But there’s also plenty of protein from the chicken and black beans, plus fiber from the beans, corn, bell pepper, and whole-wheat tortillas. I also use Greek yogurt in the filling. It adds a little more protein but I also love what it does to the texture, it makes the chicken mixture more creamy without needing another heavy sauce.
And then we have a delicious sauce! But keep it a little loose… It might look thinner than you expect, but those tortillas are going to soak up quite a bit while the casserole bakes. Too thick at the start and you risk losing those soft saucy layers, and nobody wants a dry enchilada!
Why You’ll Love This Enchilada Casserole
- No rolling individual enchiladas. Everything gets layered straight into the baking dish!
- Plenty of protein and fiber. About 34.5 g of protein and 9.5 g of fiber per serving.
- The tortillas actually get time to soak up the sauce. Keeping the enchilada sauce a little looser helps the layers soften as they bake instead of turning dry around the edges.
- And it works beautifully with leftover chicken. If you already have cooked chicken in the fridge, this becomes a much easier weeknight dinner.
Chicken & Black Bean Enchilada Casserole
Step-by-step photos can be seen below the recipe card.
Ingredients
For the Enchilada Sauce
- 14.8 oz diced tomatoes (420 g)
- 1/2 teaspoon smoked paprika
- 1/4 cup vegetable oil (60 ml)
- 0.7 oz all-purpose flour (20 g)
- 1 tablespoon chili powder
- 1 cup low-sodium chicken broth (240 ml)
- 1/2 teaspoon ground cumin
- 1/2 teaspoon garlic powder
- 1/2 teaspoon onion powder
- 1/4 teaspoon dried oregano
- salt as needed
- black pepper as needed
For the Filling
- 12 oz cooked shredded chicken (340 g)
- 4.2 oz cooked black beans (120 g), drained and rinsed
- 4.2 oz corn (120 g), well drained
- 4.2 oz red bell pepper (120 g), cut into small cubes
- 3.5 oz full-fat Greek yogurt (100 g)
- salt as needed
- black pepper as needed
For Assembling
- 6 medium whole-wheat tortillas
- 8.1 oz mild scamorza cheese or low-moisture mozzarella (230 g), shredded
- cooking spray for the baking dish
For Serving (Optional)
- Greek yogurt optional
- avocado optional
Instructions
- Preheat the oven to 350°F (180°C) and lightly grease a baking dish measuring about 9 x 11 inches (22 × 28 cm) with cooking spray.
- Start by preparing the enchilada sauce. Add the diced tomatoes to a blender and blend briefly until smoother in consistency.
- Heat the vegetable oil in a saucepan over medium heat. Add the flour and chili powder and immediately whisk to combine. Cook for about 1 minute, whisking continuously.
- Gradually add the blended tomatoes and chicken broth, whisking to prevent lumps from forming.
- Add the smoked paprika, cumin, garlic powder, onion powder, and oregano.
- Let the sauce simmer over medium-low heat for a few minutes, stirring occasionally, until it begins to thicken slightly. It should still remain fairly fluid so the tortillas stay soft during baking. Season with salt and black pepper and set aside.
- Heat a nonstick skillet and add the red bell pepper. Cook for about 4–5 minutes, stirring occasionally, until it begins to soften but still retains some texture.
- Transfer the shredded chicken, black beans, corn, and bell pepper to a large bowl.
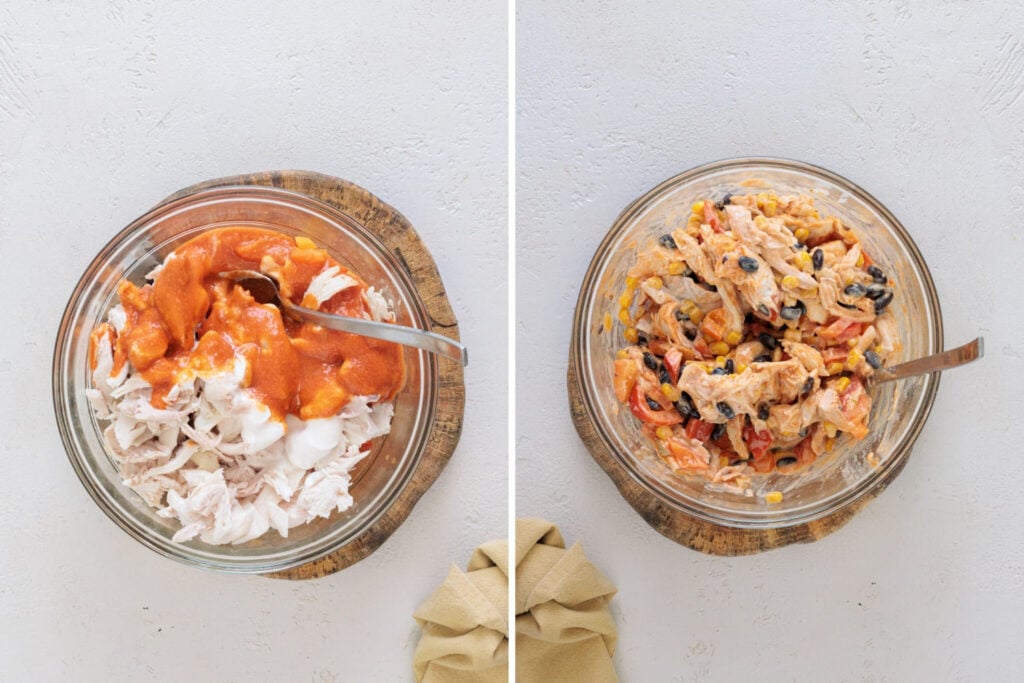
- Add the Greek yogurt and about 3.5 oz (100 g) of the enchilada sauce. Mix until the filling is creamy and well combined. Taste and adjust with salt and pepper if needed.
- Spread a thin layer of enchilada sauce over the bottom of the baking dish.
- Cut the tortillas as needed so they cover the bottom of the dish without leaving large gaps.
- Create the first layer using about one-third of the tortillas.
- Spread half of the chicken, bean, and corn filling over the tortillas. Add about one-third of the shredded scamorza and a few spoonfuls of enchilada sauce.
- Cover with a second layer of tortillas.
- Add the remaining filling, another third of the scamorza, and a few more spoonfuls of sauce.
- Finish with the final layer of tortillas.
- Pour all the remaining enchilada sauce over the top, spreading it evenly and making sure the edges of the tortillas are well covered.
- Top with the remaining scamorza.
- Cover the baking dish with aluminum foil and bake in the preheated conventional oven at 350°F (180°C) for about 20 minutes.
- Remove the foil and continue baking for another 10 minutes, or until the scamorza is fully melted and the sauce begins to gently bubble around the edges.
- Remove the casserole from the oven and let it rest for about 10 minutes before slicing. This allows the layers to settle and makes it easier to cut into neat portions.
- Serve hot and, if desired, top with a little Greek yogurt or avocado.
Notes
Nutrition
- Calories
- 480 kcal
- Carbohydrates
- 39 g
- Protein
- 34.5 g
- Fat
- 22.5 g
- Saturated fat
- 8 g
- Sodium
- 860 mg
- Fiber
- 9.5 g
- Sugar
- 5.5 g
Nutrition information is provided as an estimate and should only be used as an approximation.
How to Make Chicken & Black Bean Enchilada Casserole
There are a few steps here, but don’t worry, nothing difficult! Make the sauce, mix the filling and then layer everything into the baking dish.
-
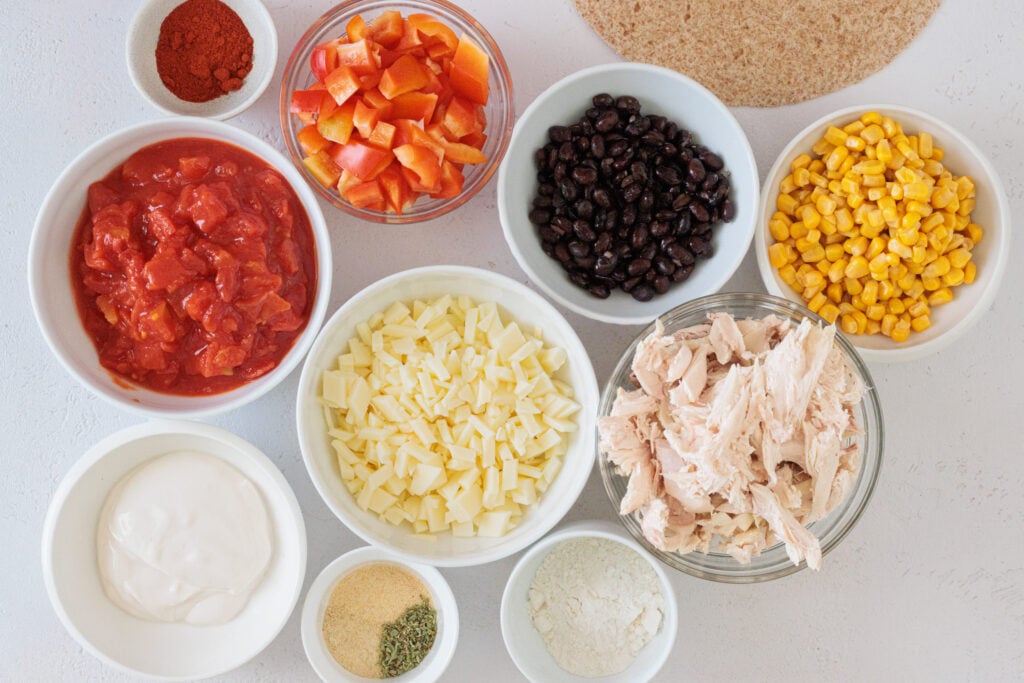
Gather the ingredients.
-
Make the sauce.
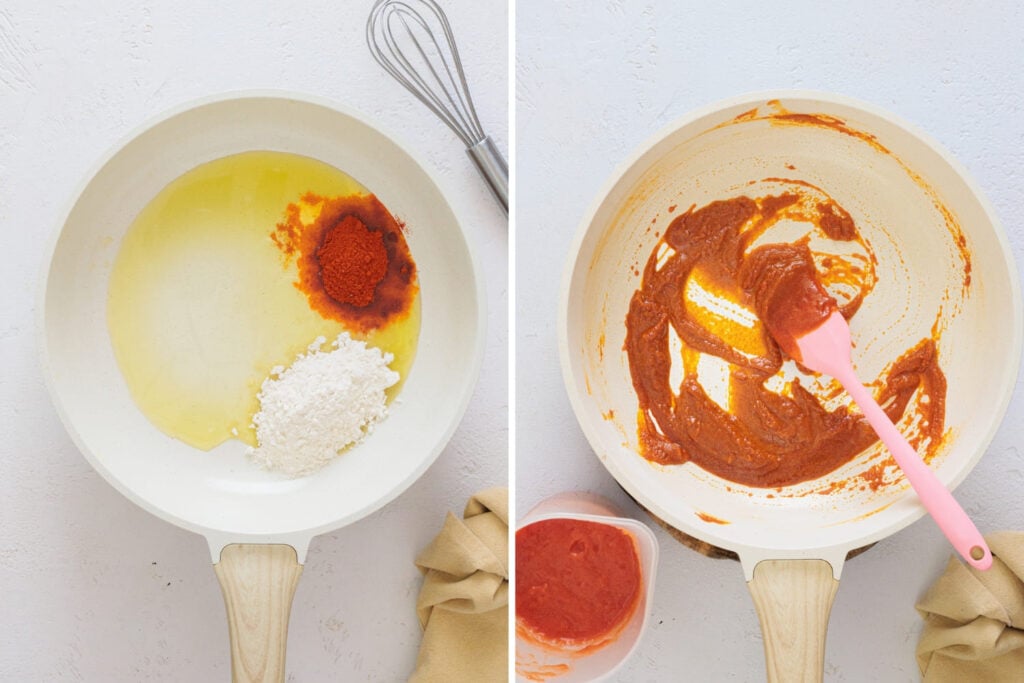
Heat the oil in a saucepan over medium heat, then add the flour and chili powder. Whisk straight away and keep it moving for about 1 minute. Slowly pour in the blended tomatoes and chicken broth while whisking, then add the smoked paprika, cumin, garlic powder, onion powder, and oregano.
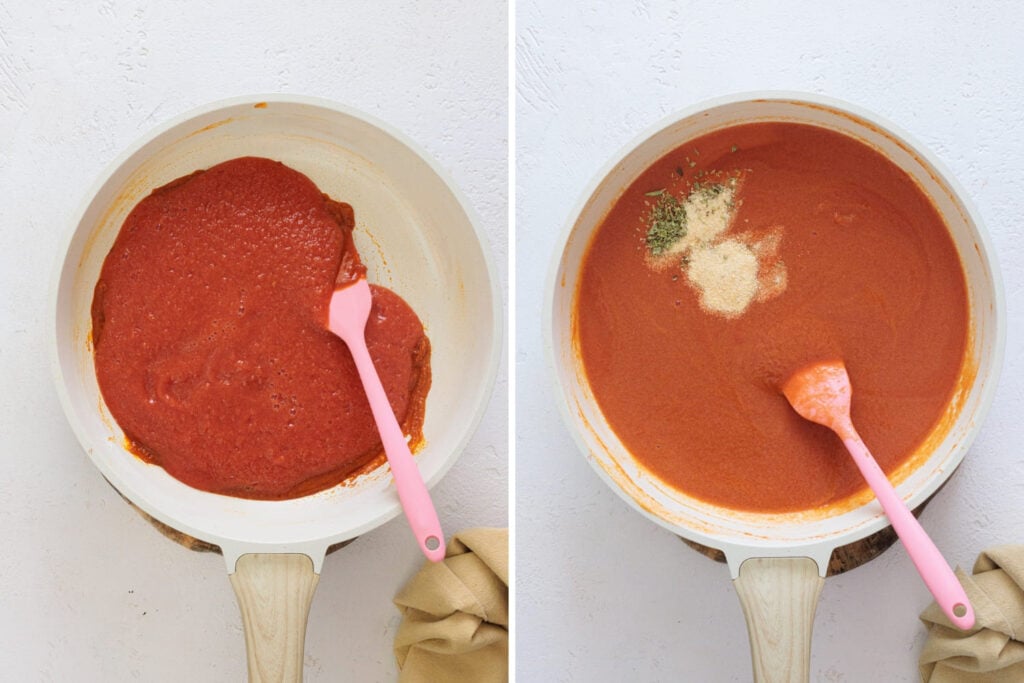
Let the sauce simmer for a few minutes until it thickens slightly, but don’t take it too far… you want it fairly loose here, just like we talked about earlier. The tortillas are going to absorb quite a bit while the casserole bakes, so a sauce that looks a little thin now is exactly what you want!
-
Cook the bell pepper and mix the filling.
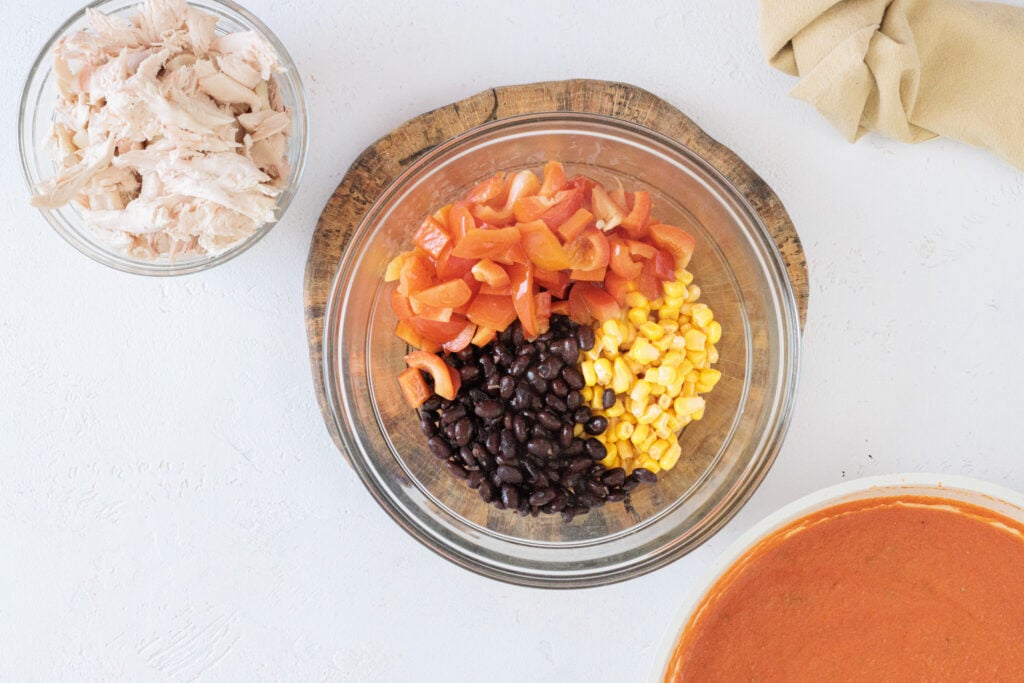
Cook the diced red bell pepper in a nonstick skillet for about 4 to 5 minutes, just until it starts to soften.
Add the shredded chicken, black beans, corn, and cooked bell pepper to a large bowl. Then add the Greek yogurt and some of the enchilada sauce. This is one of my favorite little tricks because it makes the filling creamy before it even goes into the oven. Mix everything together, then taste and season with salt and pepper if needed.
-
Layer the casserole.
Spread a thin layer of enchilada sauce over the bottom of the baking dish. Then, arrange the tortillas over the base of the dish, overlapping them as needed so there aren’t large gaps… If your tortillas are too big for the shape of your dish, you can trim or cut a piece to help fill any empty spots!
Add half of the chicken filling, then sprinkle over some of the cheese and spoon over a little more enchilada sauce.
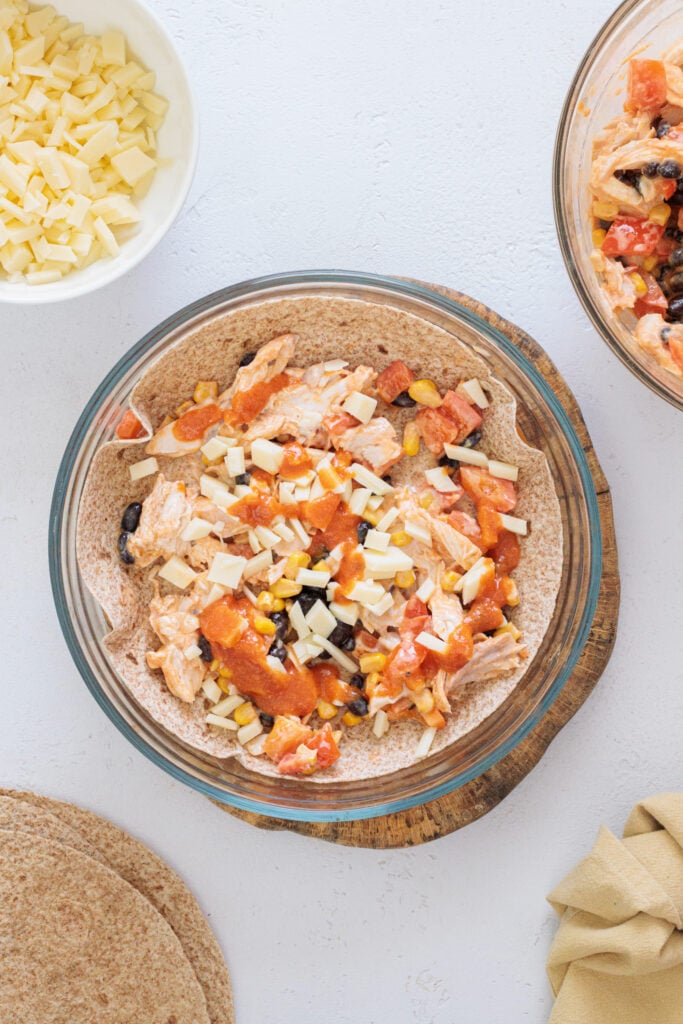
Now let’s add another layer of tortillas, then the rest of the chicken filling, more cheese, and a little more sauce. Don’t worry if the layers aren’t perfectly neat, once everything bakes together, nobody will know haha!
-
Finish with sauce and cheese.
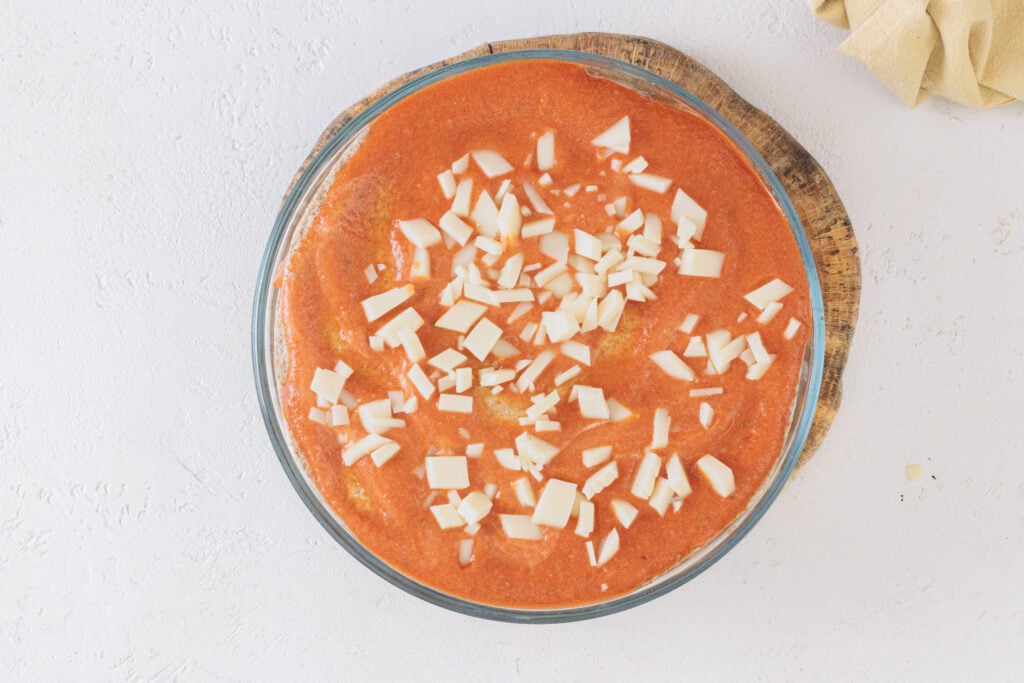
Add the final layer of tortillas. Pour all the remaining enchilada sauce over the top and spread it right to the edges. Make sure any exposed tortilla edges are covered with sauce so they soften instead of turning dry in the oven. And then we just finish with the remaining cheese.
-
Bake, then let it rest.
Cover the baking dish with foil and bake for 20 minutes. Now, remove the foil and bake for another 10 minutes, just until the cheese is fully melted and the sauce is gently bubbling around the edges.
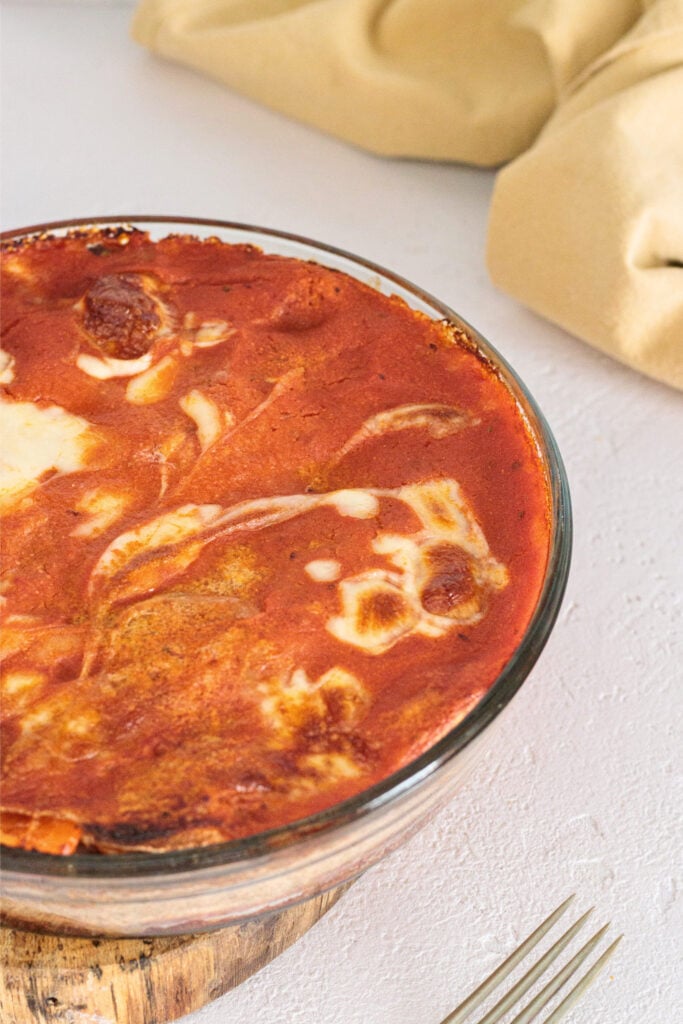
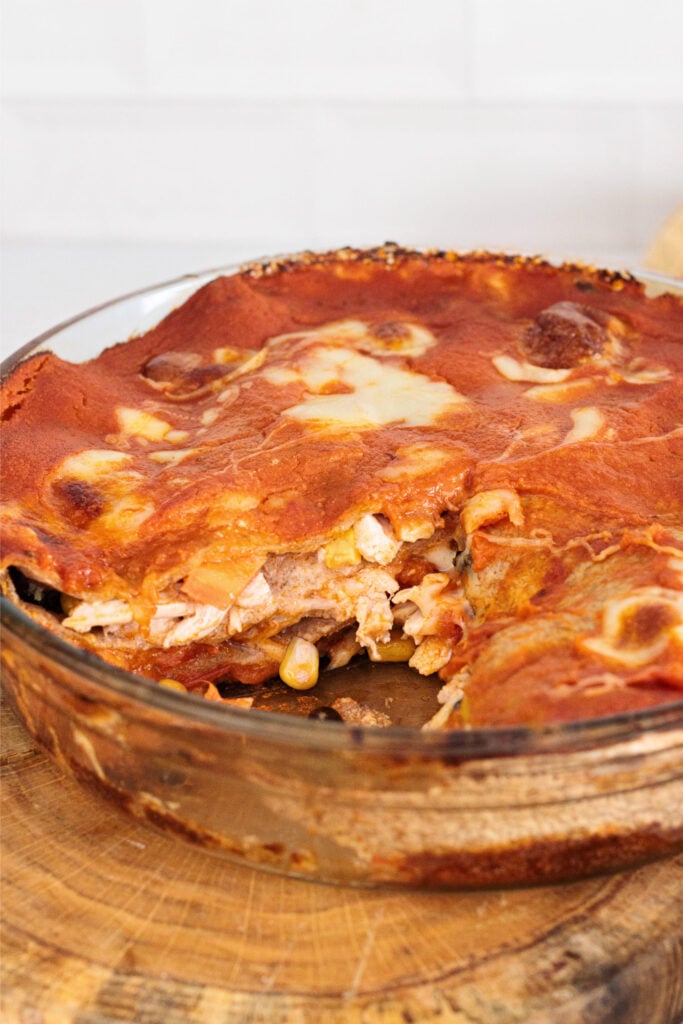
After that, let the casserole rest for about 10 minutes before slicing… This part is worth the wait! We need to give the layers some time to settle, so you’ll get much cleaner slices instead of the filling sliding everywhere the second you cut into it.
Helpful Tips
Save enough sauce for the top. I know haha it’s easy to get generous with the sauce while building the first two layers and then realize there isn’t much left at the end… I like to keep a good portion aside so the final tortillas can be completely covered!
Divide the filling and cheese before you start layering. You need two portions of filling and three portions of cheese. Doing this first makes assembly much easier and stops the first layer from accidentally getting most of the good stuff.
Are you using rotisserie chicken? Taste before adding salt. It can already be quite well seasoned, and the cheese and broth add salt too. Mix the filling first, then decide if it actually needs more!
Make-Ahead & Storage
- You can get quite a bit done ahead of time. Make the enchilada sauce, cook the bell pepper, shred the chicken, and mix the filling earlier in the day, then keep everything covered in the fridge until you’re ready to assemble.
- You can also assemble the casserole a few hours ahead, cover it tightly, and refrigerate it. If it goes into the oven cold, give it a few extra minutes and make sure the center is hot before serving.
- Leftovers keep well in the fridge for 3 to 4 days. Store them in a covered container once the casserole has cooled down a little.
- To reheat, I prefer covering individual portions so they don’t dry out… A small spoonful of enchilada sauce or a splash of broth can help if the tortillas have absorbed a lot of moisture overnight.
Substitutions & Variations
Making it for kids? Use a little less chili powder in the sauce… you can always put hot sauce on the table for anyone who wants more heat.
If you need it gluten-free. Grab some certified gluten-free corn tortillas and swap the flour in the enchilada sauce for a 1:1 gluten-free flour blend. Easy change!
I didn’t test it, but if you want to make it vegetarian, skip the chicken, use vegetable broth and add extra black beans plus some sautéed mushrooms. I would cook the mushrooms until nicely browned first so they bring a bit more savory flavor and don’t water down the filling.