


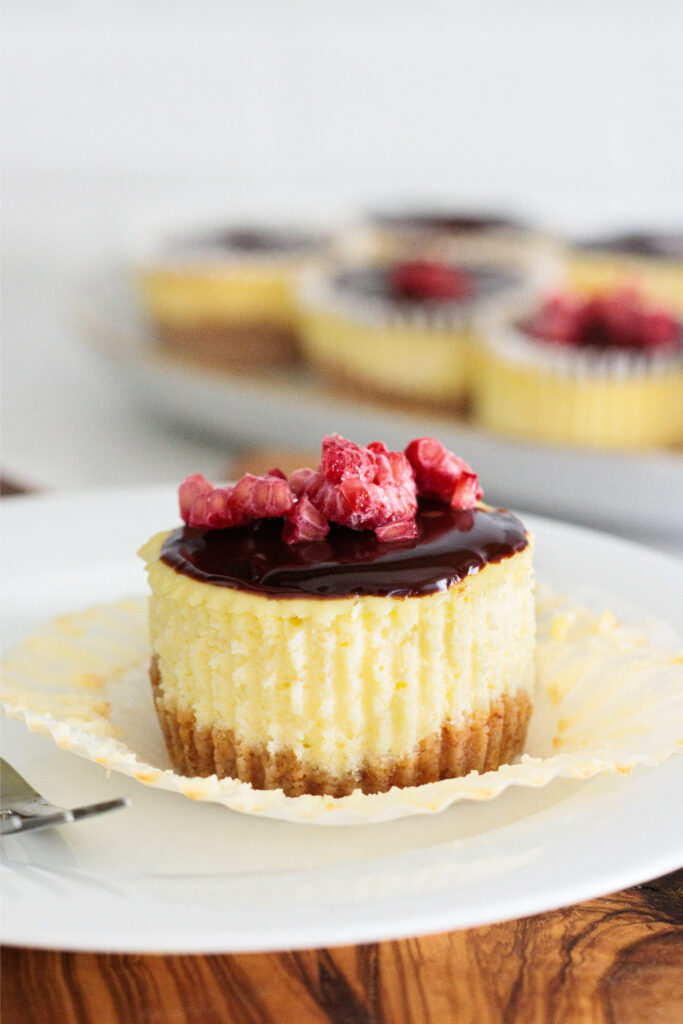
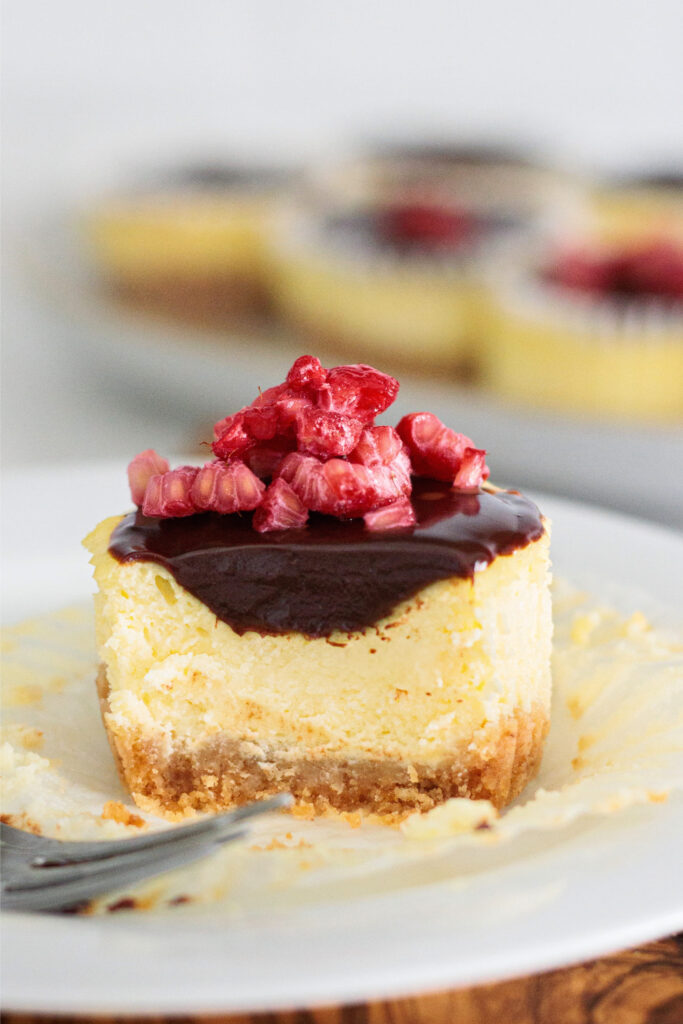
I like keeping the chocolate layer thin here. Cheesecake is still the main event (of course) and I want to taste it! The dark chocolate just gives you that little extra something on top without taking over the whole dessert. And mini cheesecakes are just easier, aren’t they? No slicing, no trying to get the first piece out neatly, no slightly wonky portions. Everyone gets their own little cheesecake and that’s that.
The only thing you really need to plan for is the chilling time. These have to be completely cold before the ganache goes on, so I usually make them ahead. The day before is perfect! Then when dessert time comes around, all the hard work is already done.
And you don’t need a special pan either, just a standard 12-cup muffin pan!
Why You’ll Love It
- Perfect little portions. There’s no slicing and no fighting with that awkward first piece haha.
- Easy to make ahead. These actually need time to chill, which makes them a great dessert to make the day before.
- Easy to customize. Add a raspberry or two on top and suddenly they look very dinner-party-ish, with very little extra effort.
- No special pan, you only need a standard 12-cup muffin pan and paper liners.
Mini Cheesecakes with Chocolate Ganache
Step-by-step photos can be seen below the recipe card.
Ingredients
For the Crust
- 3.7 oz Digestive biscuits (105 g)
- 2 tablespoons unsalted butter (30 g), melted
For the Filling
- 16 oz full-fat brick-style cream cheese (450 g), at room temperature
- 1/2 cup granulated sugar (100 g)
- 1/4 cup heavy cream plus 2 teaspoons (70 g), at room temperature
- 2 1/2 teaspoons vanilla extract (10 g)
- 2 teaspoons lemon juice (10 g)
- 2 large eggs at room temperature
For the Chocolate Ganache
- 2.8 oz dark chocolate (80 g), finely chopped
- 1/3 cup heavy cream (80 g), approximately
For Serving, Optional
- fresh raspberries or other berries optional
Instructions
- Preheat the oven to 350°F (175°C) and line a standard 12-cup muffin pan with paper liners.
- Finely crush the Digestive biscuits using a food processor or by crushing them with a rolling pin. Transfer the crumbs to a bowl and add the melted butter.
- Mix until all the crumbs are evenly moistened, then divide the mixture among the 12 muffin liners.
- Press the crust firmly into the bottom of each liner using the back of a teaspoon or the base of a small glass, creating an even layer.
- Bake the crusts in the preheated oven for about 6 minutes. Remove the pan from the oven and let them cool slightly while you prepare the filling.
- Place the cream cheese and sugar in a large bowl and beat with an electric mixer at medium speed until smooth and free of lumps.
- Add the heavy cream, vanilla extract, and lemon juice. Mix briefly, just until combined.
- Add both eggs and mix on low speed only until fully incorporated. Avoid overmixing, as too much air can cause the cheesecakes to rise excessively or crack during cooling.
- Divide the filling evenly among the 12 liners, pouring it gently over the biscuit crusts.
- Bake in the oven at 350°F (175°C) for about 25 minutes. The mini cheesecakes are ready when the edges look set and the centers are still slightly soft with a gentle jiggle. The centers continue to set as the cheesecakes cool and chill.
- Remove from the oven and allow them to cool completely in the pan.
- Once they reach room temperature, refrigerate for at least 1 hour and until completely cold and firm.
- Prepare the chocolate ganache only when the mini cheesecakes are completely cold.
- Finely chop the dark chocolate and place it in a heatproof bowl.
- Pour the heavy cream into a small saucepan and heat over low heat until very hot and small bubbles begin to appear around the edges. Do not allow it to boil.
- Immediately pour the hot cream over the chocolate and let it sit undisturbed for about 2 minutes.
- Slowly stir from the center of the bowl outward until the ganache becomes smooth and glossy.
- Allow it to cool for a few minutes so it thickens slightly.
- Spread about 1½ teaspoons of ganache over the top of each mini cheesecake, gently smoothing it with the back of a teaspoon.
- Return the mini cheesecakes to the refrigerator until the ganache has slightly set.
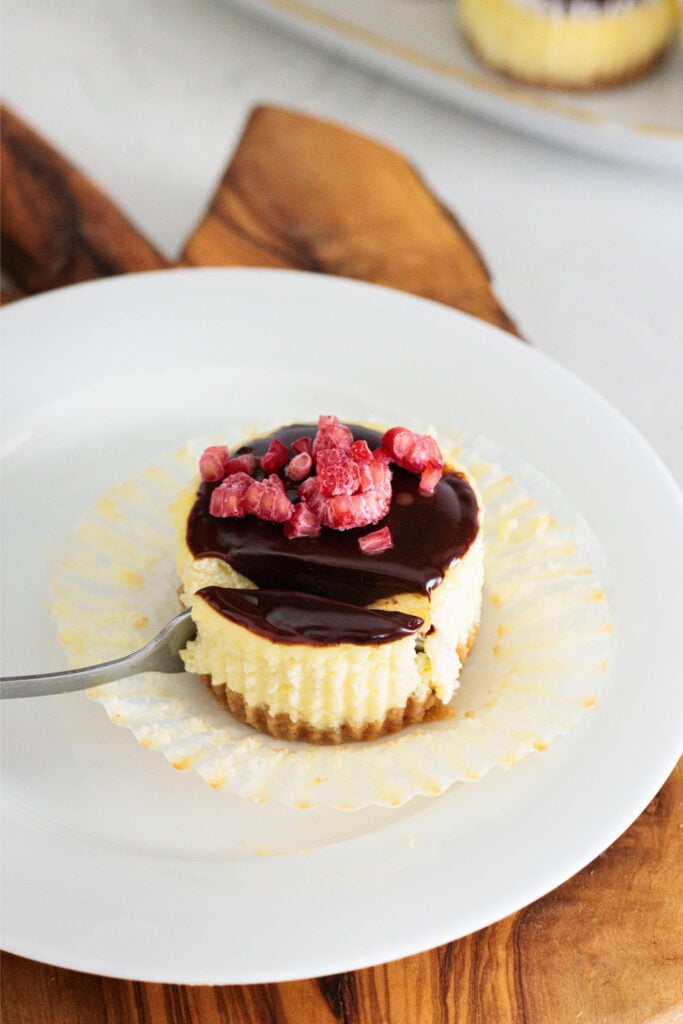
- Before serving, decorate with fresh raspberries or other berries, if desired.
Notes
Nutrition
- Calories
- 320 kcal
- Carbohydrates
- 20 g
- Protein
- 5 g
- Fat
- 25 g
- Saturated fat
- 14 g
- Sodium
- 180 mg
- Fiber
- 1 g
- Sugar
- 14 g
Nutrition information is provided as an estimate and should only be used as an approximation.

How to Make Mini Cheesecakes with Chocolate Ganache
These are deliciously simple to make but cheesecake does have a few little rules worth following… Nothing scary! Just keep the filling smooth and don’t overmix once the eggs go in, then just give them enough time to chill before adding the ganache.
-
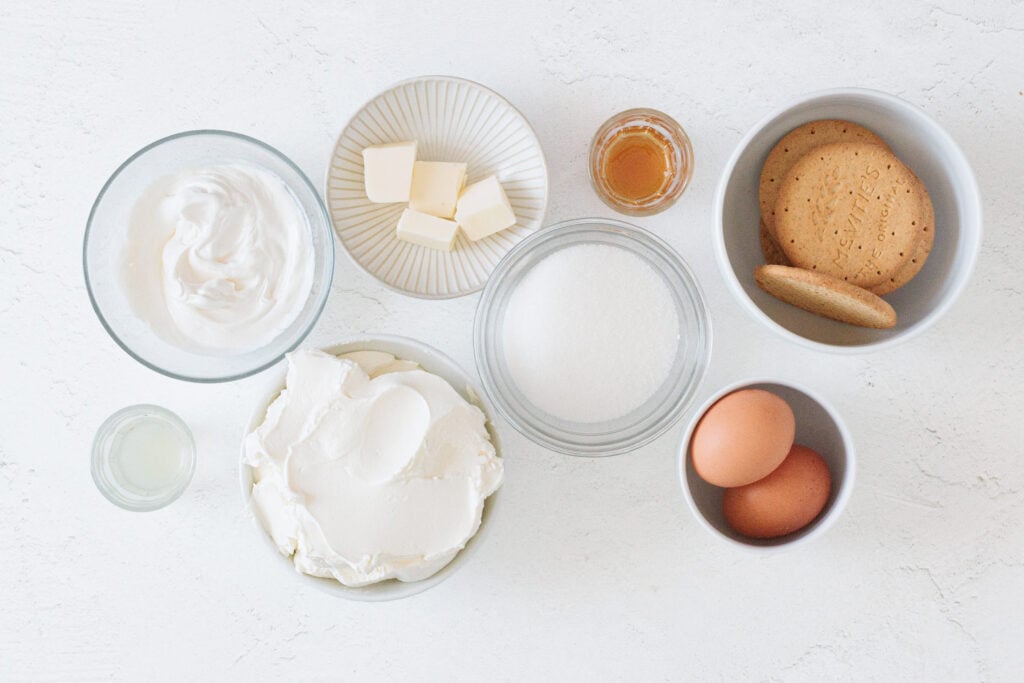
Gather all of your ingredients.
-
Make the biscuit crusts.
Let’s start by crushing the Digestive biscuits into fine crumbs. You can use a food processor or just put them in a bag and go over them with a rolling pin.
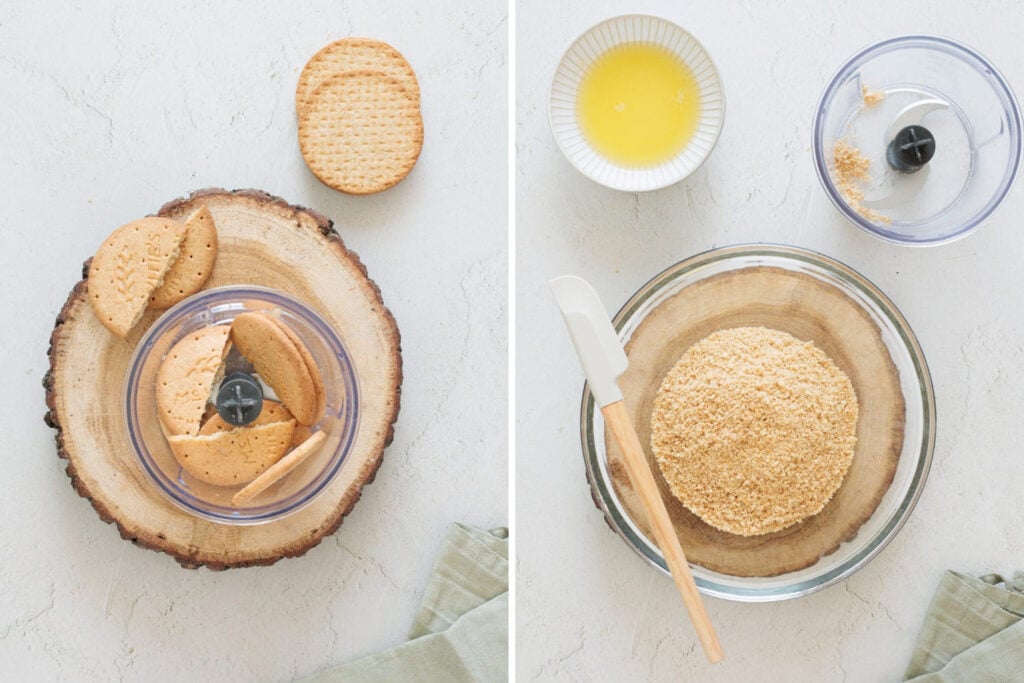
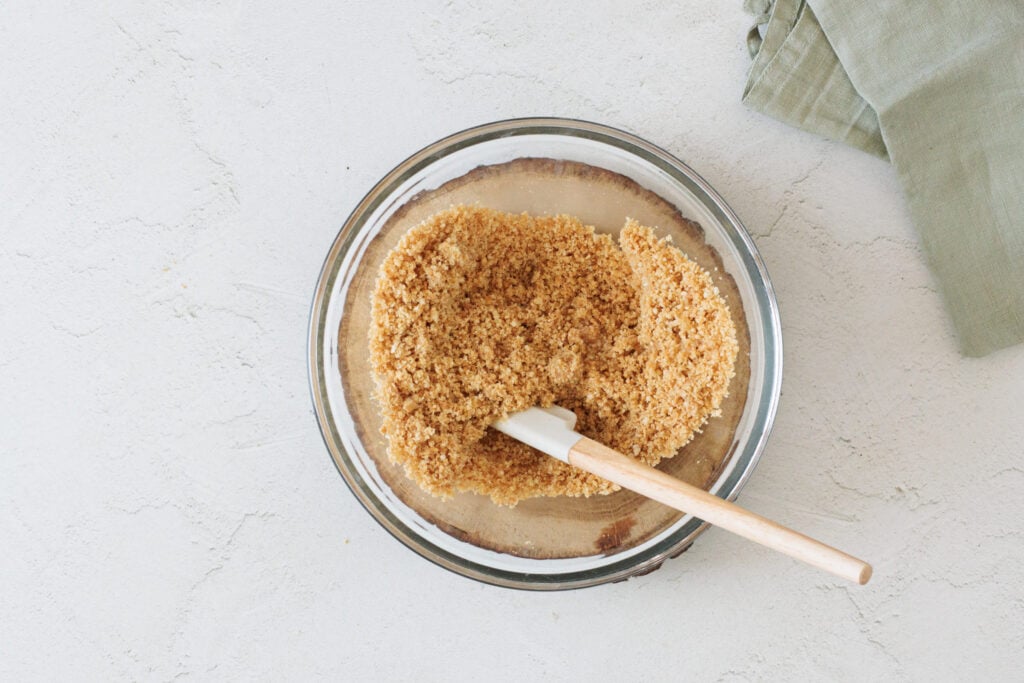
Then mix the crumbs with the melted butter until everything looks evenly moistened and divide them between the 12 liners.
Press each one down firmly into an even layer. I usually use the back of a teaspoon but the bottom of a small glass works really well too. You want them nice and compact so the crust holds together when you peel the liner away later.
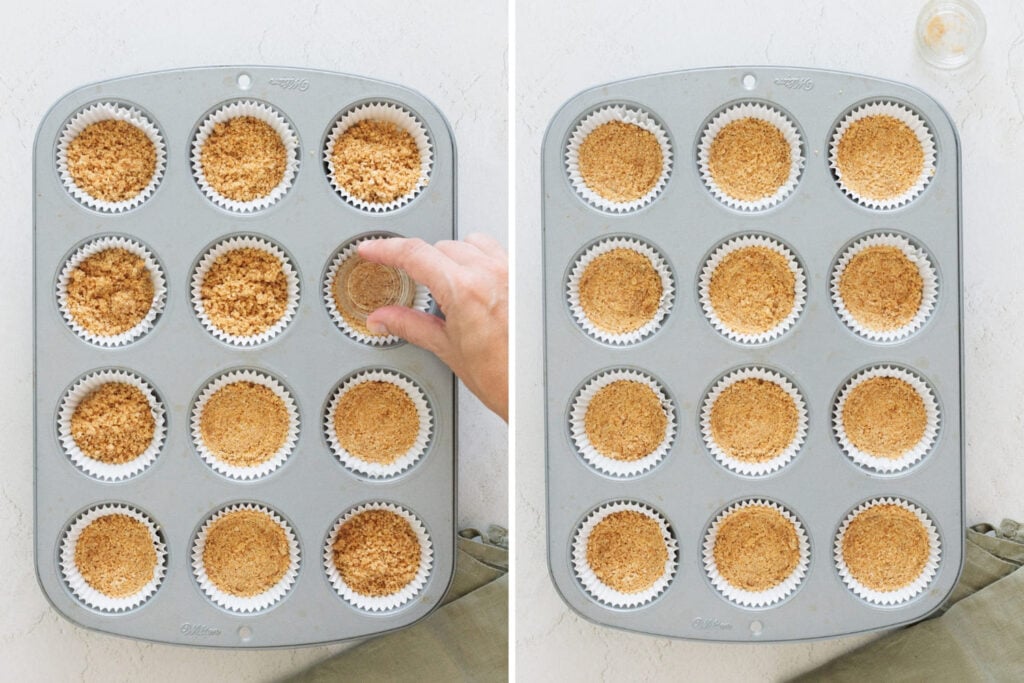
Bake for about 6 minutes, then leave them to cool slightly while we move on to the filling.
-
Smooth the filling, then add the eggs.
Now let’s get the cream cheese and sugar really smooth. Beat them together until there are no lumps left. This is the moment to get the texture right because once the eggs go in, we don’t want to keep mixing for too long.
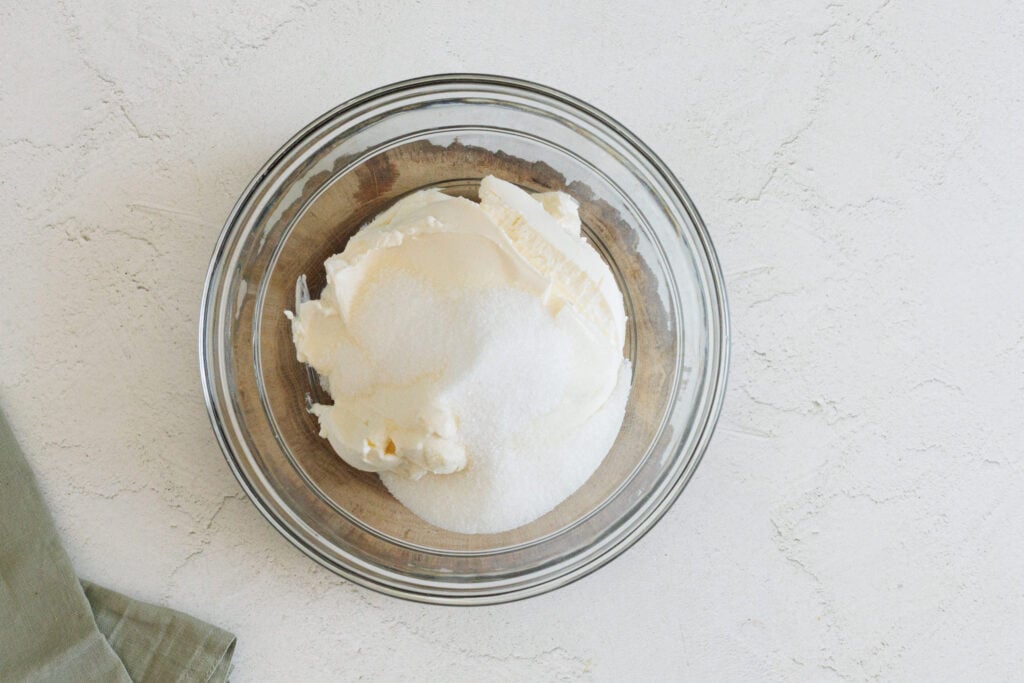
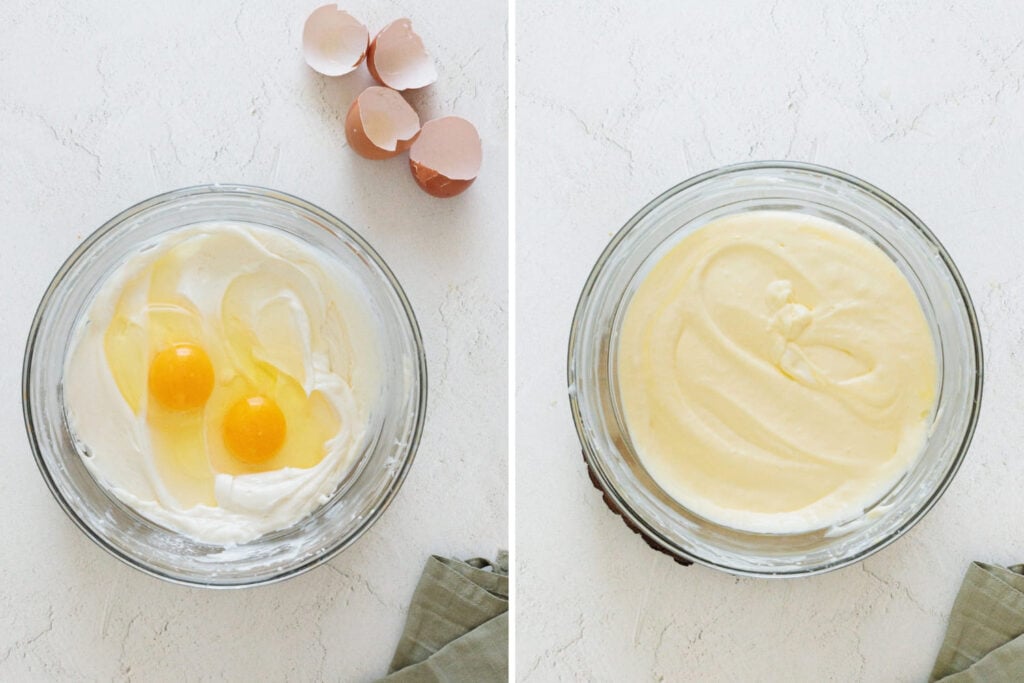
Add the heavy cream, vanilla, and lemon juice and mix briefly. Then add both eggs, turn the mixer down to low, and stop as soon as they’re incorporated. We’re not trying to whip air into the batter here. Too much air can make the cheesecakes puff up in the oven and then crack or sink more as they cool…
-
Fill and bake.
Okay, now divide the filling between the 12 biscuit bases and bake at 350°F (175°C) for about 25 minutes. This is where cheesecake can make you second-guess yourself a little! The edges should look set, but the centers should still be slightly soft with a gentle jiggle when you move the pan.
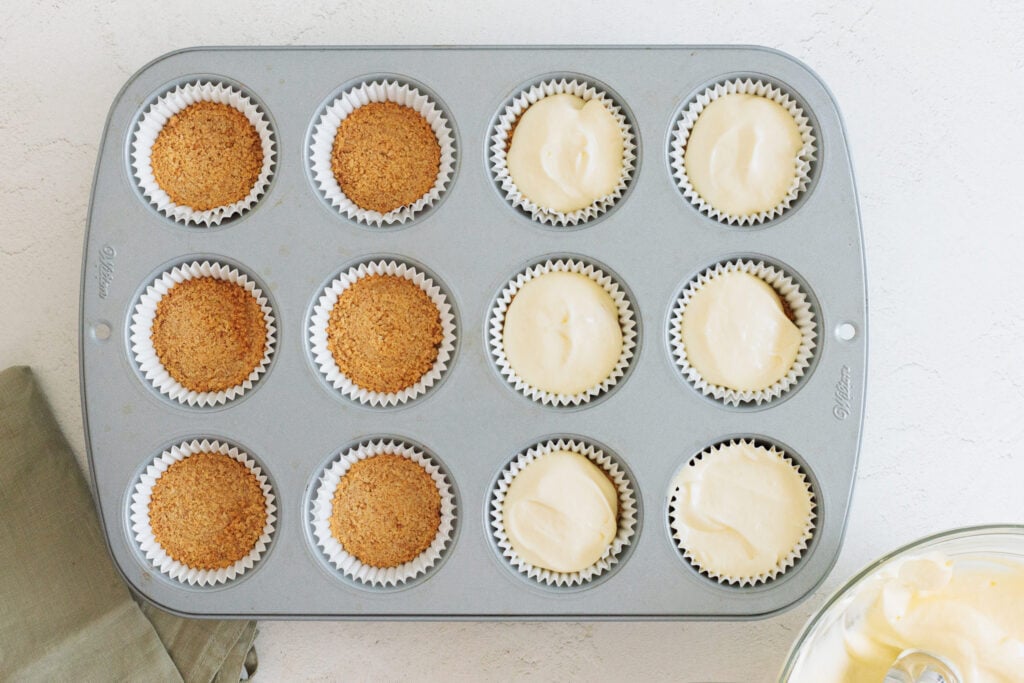
Don’t wait until the middles look completely firm! They’ll continue setting as they cool and chill.
-
Cool in the pan, then chill.
Let the cheesecakes cool completely in the muffin pan first. Once they’re at room temperature, you can put them in the fridge for at least 1 hour, or longer if needed.
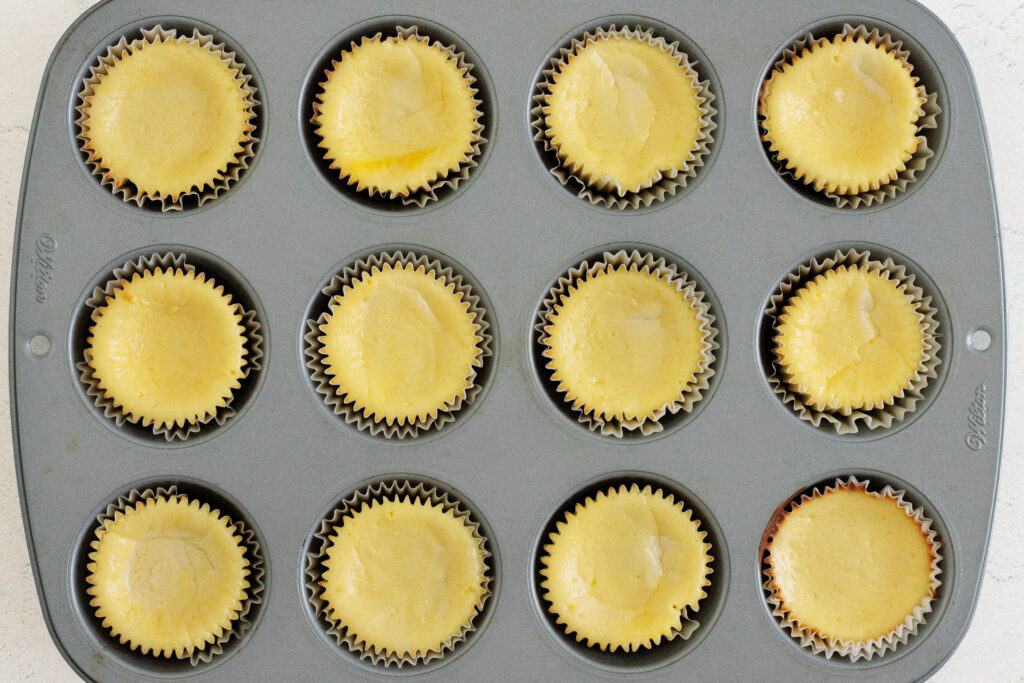
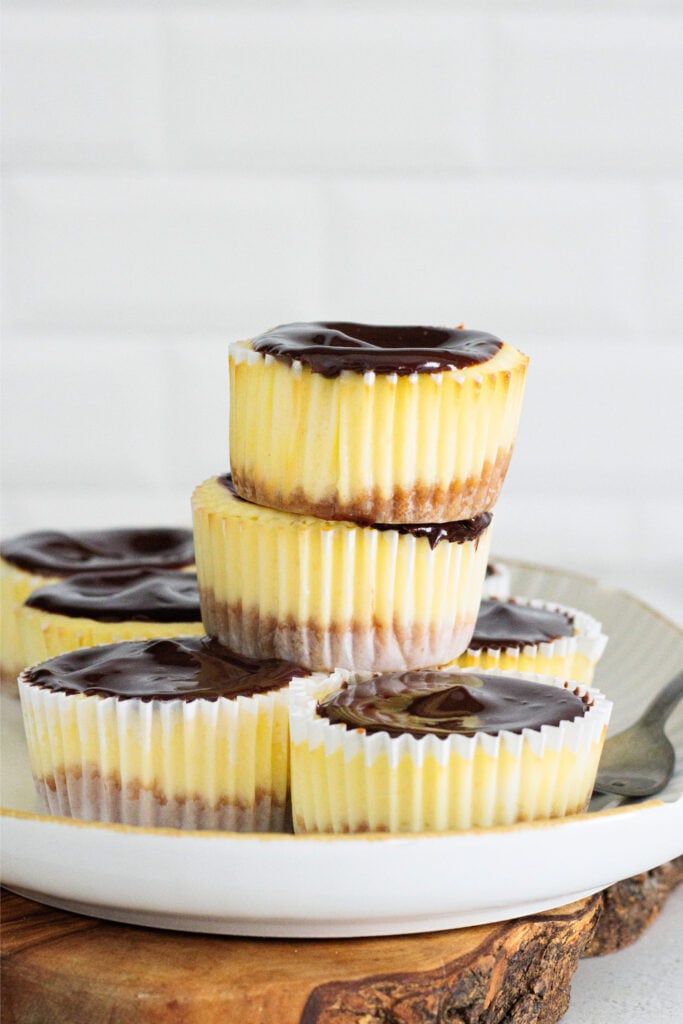
They need to be completely cold and firm before the ganache goes on. And if you notice a little dip in the center as they cool, don’t worry! That’s normal with mini cheesecakes. It also happens to make a very convenient little spot for the chocolate.
-
Make the ganache.
Now for the chocolate! Finely chop the dark chocolate and place it in a heatproof bowl.
Heat the heavy cream gently until it’s very hot and you see small bubbles starting to appear around the edge. Take it off the heat before it boils. Pour the hot cream over the chocolate and leave it alone for about 2 minutes… then stir slowly from the center outward until the ganache becomes smooth and glossy.
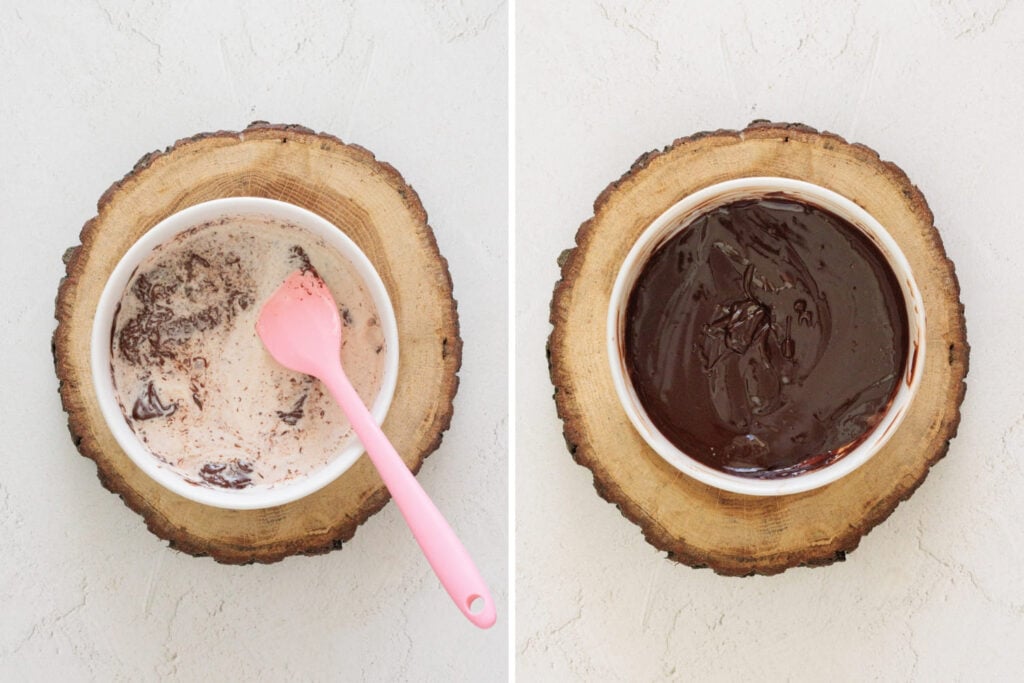
Let it sit for a few minutes before using it. You want it slightly thicker than when it first comes together but still soft enough to spread easily over the cold cheesecakes.
-
Top, set and serve.
Spoon about 1½ teaspoons of ganache onto each cold cheesecake and gently spread it over the top. I like keeping the chocolate layer thin (but add a little more if you like!). For me, the cheesecake is still the main event here, with just enough chocolate to make things interesting.
Pop them back into the fridge until the ganache has slightly set.
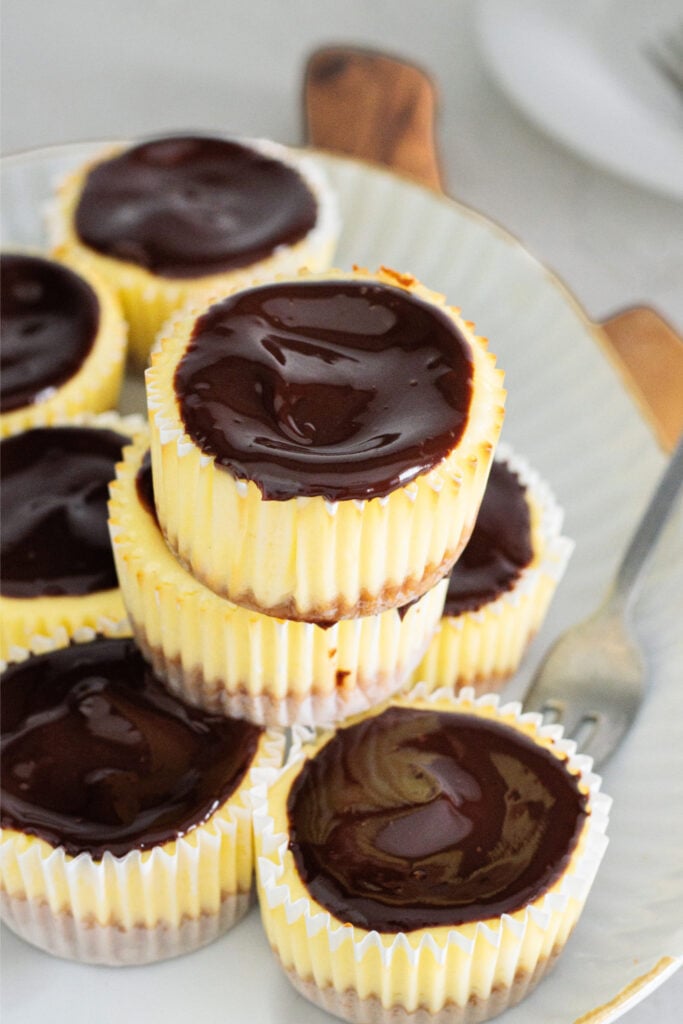
After that, you can add a raspberry or a few other berries just before serving if you like. You can leave the liners on for everyone to peel away themselves or remove them once the cheesecakes are completely cold and firm.
Helpful Tips
- Use full-fat brick-style cream cheese. This isn’t the place for whipped or spreadable cream cheese. The firmer block-style version gives the filling the right structure and helps the cheesecakes set properly!
- Room-temperature ingredients really help. Cold cream cheese is much harder to get smooth and that usually means more mixing later. Let the cream cheese, eggs, and heavy cream come to room temperature before you start.
- Don’t overmix once the eggs go in. This is probably the biggest rule here. Mix on low and stop as soon as the eggs are incorporated. More air in the batter means more puffing in the oven, which can lead to extra sinking or cracks as they cool!
- A little dip in the middle is normal. They often settle slightly as they cool, so don’t panic if yours aren’t perfectly flat on top. The ganache hides it beautifully anyway haha.
Make-Ahead & Storage
These are a great make-ahead dessert. In fact, I think they’re easier that way! You can bake the cheesecakes the day before, let them cool completely, chill them until firm, then add the ganache.
Keep them covered in the fridge and save the berries for just before serving so they stay fresh. Once completely cooled, store the cheesecakes covered in the refrigerator at 40°F (4°C) or below for 3 to 5 days.
If you’re taking them to a party or someone else’s house, keep them chilled for as long as possible. They’re much nicer cold anyway and the ganache stays neat on top.
A little tip: don’t cover them while they’re still warm. That can trap condensation and that’s the last thing we want sitting on top of these cuties!
Substitutions & Variations
Digestive biscuits or graham crackers. I used Digestive biscuits for the crust but if you have graham crackers at home, use the same 3.7 oz (105 g) of crumbs and start with about 2½ tablespoons (35 g) of melted butter. Mix it together and squeeze a little in your hand… if the crumbs hold together, you’re good to go! If they still feel too dry and loose, add another teaspoon of melted butter.
Stick with full-fat cream cheese. This is one ingredient I wouldn’t swap. Whipped, spreadable, or lower-fat cream cheese can really make the filling softer and change how the cheesecakes set.
Change the berries if you like. Raspberries are my favorite here (LOVE THESE!) but strawberries or blueberries, or even a mix of berries would all work. Or just skip them completely… the cheesecakes are plenty good on their own!